Checking blood pressure at home is one of the best ways to understand your usual blood pressure outside a clinic. The most reliable home method is a validated automatic upper-arm monitor used with the correct cuff size and consistent technique.
For adults, normal blood pressure is below 120 mmHg systolic and below 80 mmHg diastolic. Stage 1 hypertension begins at 130–139 mmHg systolic or 80–89 mmHg diastolic. See the full blood pressure chart for all ranges and categories.
A single reading is only a snapshot. Home monitoring is most useful when you measure under similar conditions, take more than one reading, and look at the pattern over time.
How to take blood pressure at home: quick protocol
Use an upper-arm monitor
Choose a clinically validated automatic upper-arm device and use a cuff that fits your arm circumference.
Prepare for 30 minutes
Avoid exercise, caffeine, nicotine and alcohol shortly before measuring, and empty your bladder first.
Rest for 5 minutes
Sit quietly with your back supported, feet flat, legs uncrossed and your arm supported at heart level.
Take 2 readings
Take two measurements at least one minute apart, record both, and compare averages rather than reacting to one number.
How is blood pressure measured?
Blood pressure is the force of circulating blood against the walls of the arteries. It is recorded in millimeters of mercury (mmHg) as two numbers: systolic pressure, measured when the heart contracts, and diastolic pressure, measured when the heart relaxes between beats.
A blood pressure cuff temporarily compresses the brachial artery in the upper arm. As the cuff deflates, the device detects changes in blood flow and calculates the systolic and diastolic pressures.
Modern home monitors usually use oscillometric technology, which detects arterial wall vibrations automatically and does not require a stethoscope.
Blood pressure changes throughout the day with activity, stress, sleep, food, caffeine, medication and body position. That is why repeated readings taken with the same technique are more informative than one isolated measurement.

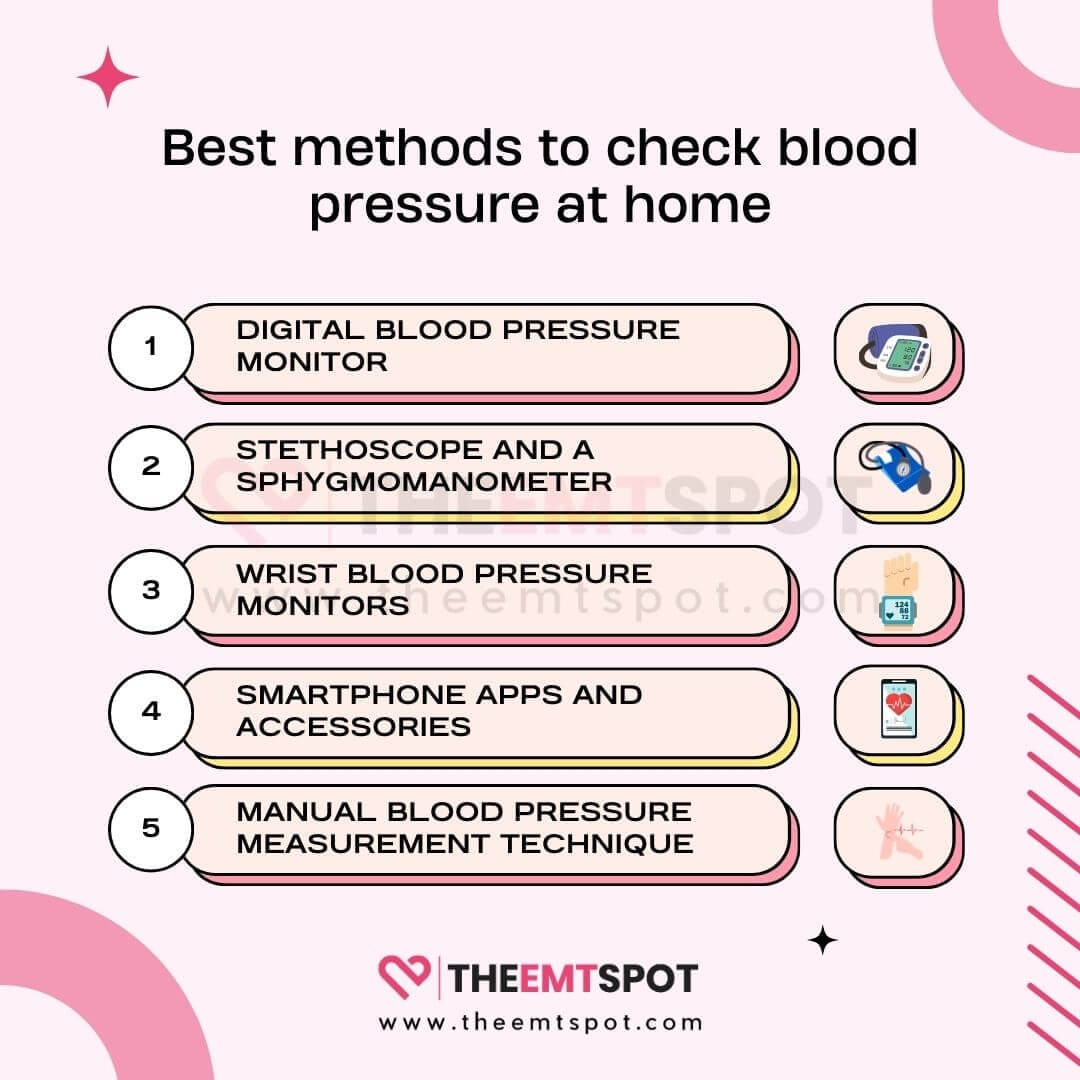
What methods are used to check blood pressure at home?
Several methods can measure blood pressure, but they differ substantially in convenience and suitability for self-monitoring.
Blood pressure cannot be measured accurately from symptoms, pulse rate or a phone camera alone. A device that can apply and measure pressure is required.
What type of blood pressure monitor is best for home use?
For most adults, the best choice is a validated automatic upper-arm oscillometric monitor with the correct cuff size.
| Monitor type | Home use | Main consideration |
|---|---|---|
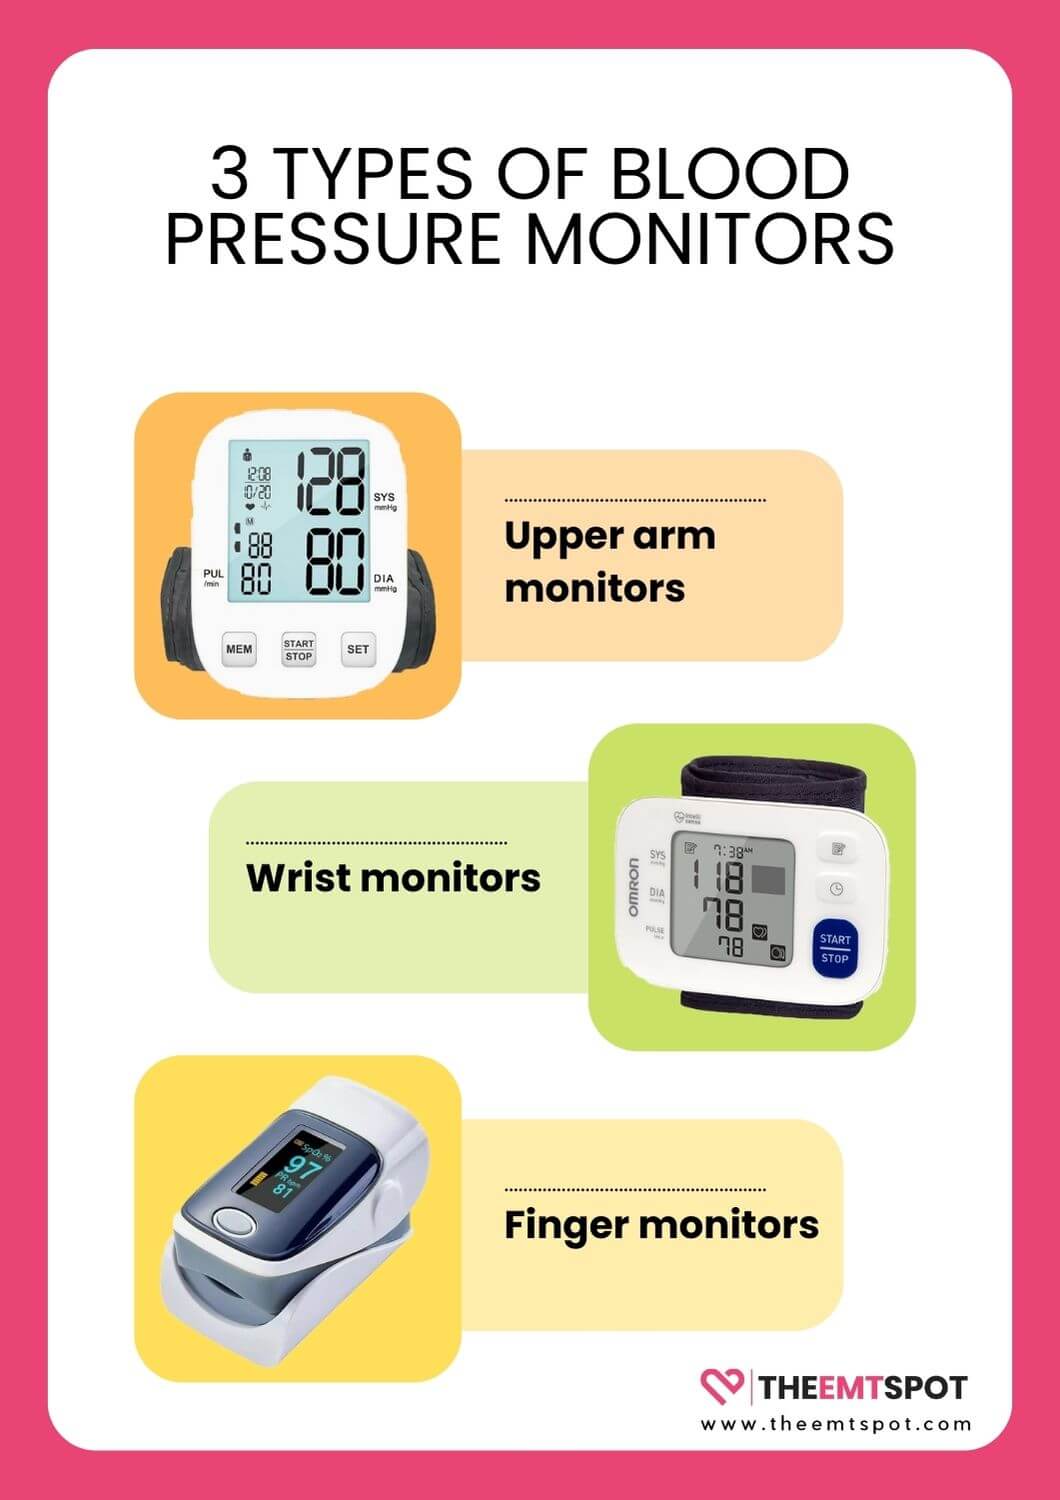
| Upper-arm monitor | Preferred | Use a validated device and correct cuff size |
| Wrist monitor | Alternative | Highly sensitive to wrist position |
| Finger monitor | Not preferred | Less reliable for clinical decisions |
Before buying a device, check whether it has been independently validated. You can also use our blood pressure monitor guide to compare monitor types and features.
How do you check whether your blood pressure monitor is accurate?
Bring your home monitor to a medical appointment periodically so its readings can be compared with a clinic device. Follow the manufacturer’s instructions for maintenance, servicing and any recommended accuracy checks.
Compare it in clinic
Take your monitor to an appointment and compare several readings with a professionally maintained device.
Check the cuff
A monitor can be accurate but still give poor readings if the cuff is the wrong size or is placed incorrectly.
Inspect after damage
Recheck the device if it has been dropped, damaged or begins producing results that are inconsistent with your usual pattern.
Follow the manual
Use the manufacturer’s maintenance and servicing schedule for your specific monitor.
How should you prepare before taking your blood pressure?
Preparation matters because small differences in posture, activity and cuff placement can noticeably change a reading.
When is the best time to measure blood pressure?
For home monitoring, consistency matters more than choosing one universal clock time. Many monitoring plans use readings in the morning and evening, but your clinician may recommend a different schedule depending on your medications, symptoms and treatment goals.
When comparing readings over time, try to measure under similar conditions. If your clinician wants to assess how a medication is working, ask whether the reading should be taken before or after a dose.
How can you relax before taking your blood pressure?
Sit quietly in the measurement chair for at least five minutes before starting. Avoid conversation, scrolling on your phone and other distractions that keep you mentally or physically active.
How do you take blood pressure accurately?
Use the same sequence each time. This makes your measurements easier to compare and reduces avoidable errors.
Common technique errors can shift a reading enough to change how it is interpreted.
| Common error | Why it matters |
|---|---|
| Talking during measurement | Can temporarily raise blood pressure |
| Cuff over clothing | Can distort cuff fit and the reading |
| No quiet rest beforehand | Recent activity may keep pressure elevated |
| Legs crossed or feet unsupported | Changes posture and muscle tension |
| Cuff too small | Can produce a falsely high result |
| Arm below heart level | Can produce a higher reading |
What is the best position for taking blood pressure?
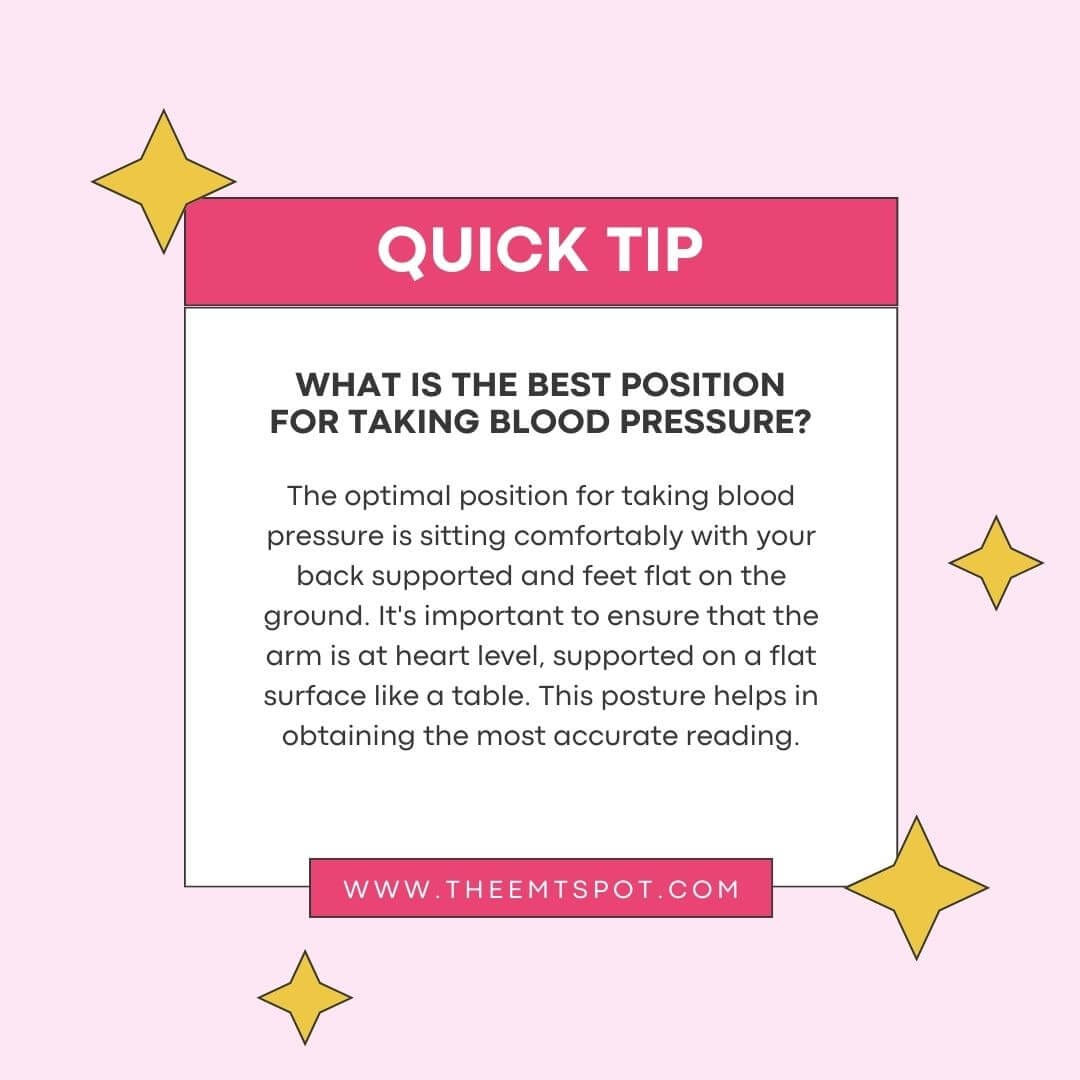
For routine home measurements, sit upright in a chair with your back supported, both feet flat on the floor, legs uncrossed, and the measuring arm supported at heart level. Keep the hand open and relaxed.
Stay in this position during the five-minute rest period and while the monitor is taking the reading.
Can you measure blood pressure while lying down?
Yes, blood pressure can be measured while lying down, but supine readings should not be mixed casually with seated readings when you are following a home trend. Body position can change the result.
If you need to measure while lying down, support the arm so the cuff remains at approximately heart level and record the position together with the reading.
Which arm should you use to take blood pressure?
At an initial assessment, blood pressure is often checked in both arms. If one arm consistently produces a higher result, clinicians commonly use that arm for subsequent measurements.
Once you have chosen the arm for routine home monitoring, keep using the same arm so your readings are comparable. Ask your clinician about a persistent difference between arms.
How do you put on a blood pressure cuff?
Correct cuff size and placement are essential. Even a validated monitor can give misleading results if the cuff is too small, too large, loose or positioned incorrectly.
How tight should the blood pressure cuff be?
The cuff should be snug and secure without painfully compressing the arm before inflation. Follow the fit marks and circumference range printed on the cuff or listed in the monitor manual.
Cuff size is based on arm circumference, not simply body size. If your arm is near the edge of the stated range, check the manufacturer’s sizing instructions carefully.
Can you use a blood pressure monitor during pregnancy?
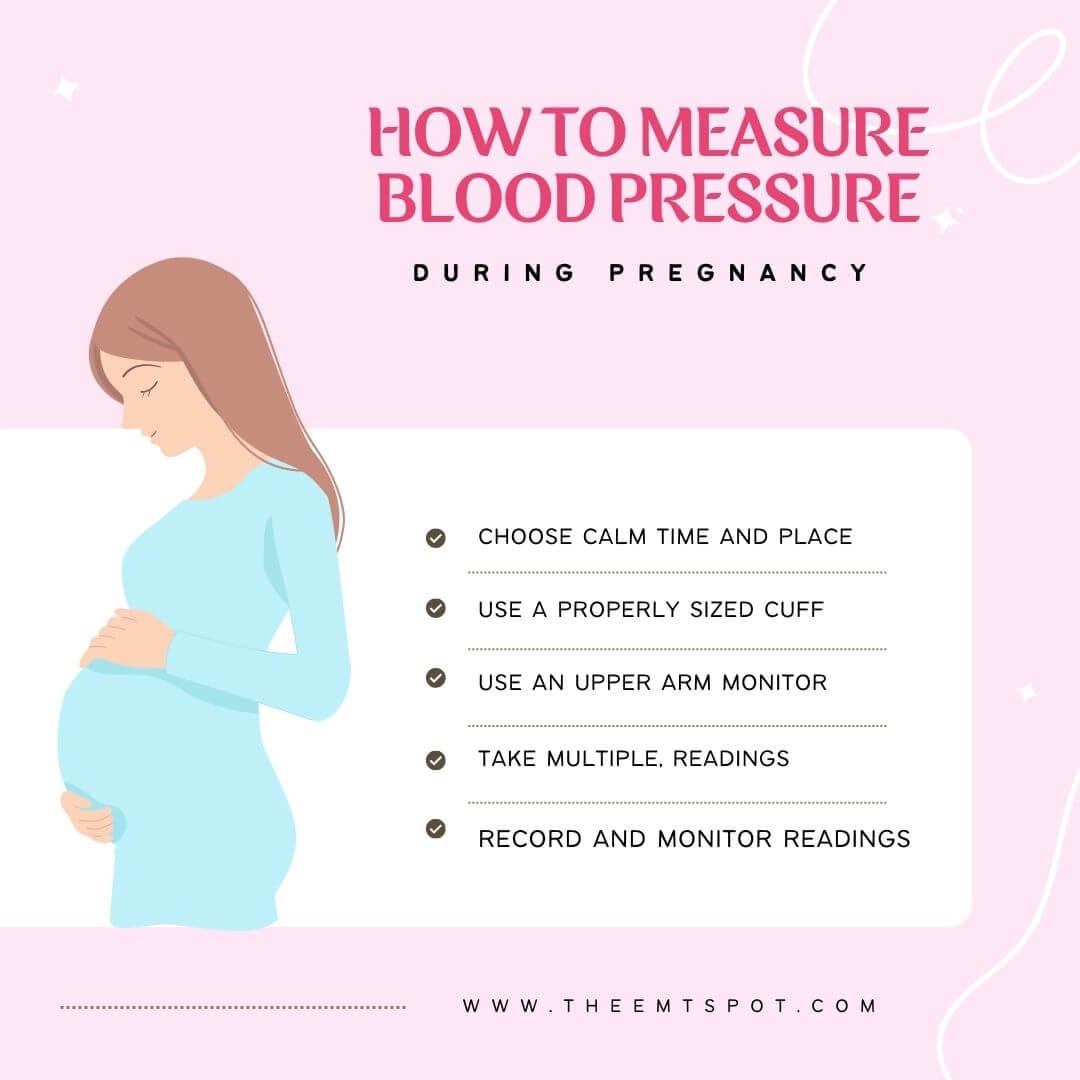
Home blood pressure monitoring can be useful during pregnancy when recommended by an obstetric clinician, especially for people with hypertension, elevated readings or risk factors for hypertensive disorders of pregnancy.
Use an upper-arm monitor that has been validated for pregnancy when possible. Measure seated with your back supported, feet flat and arm at heart level, unless your obstetric team gives you a different protocol.
Do not use home readings to change prescribed medication or delay medical assessment. If you are pregnant and have a high reading or symptoms that concern you, follow the plan provided by your obstetric team.
Can you check blood pressure without a monitor?
No reliable home method can determine systolic and diastolic blood pressure without a device that applies and measures pressure.
How do you measure blood pressure with a stethoscope and sphygmomanometer?
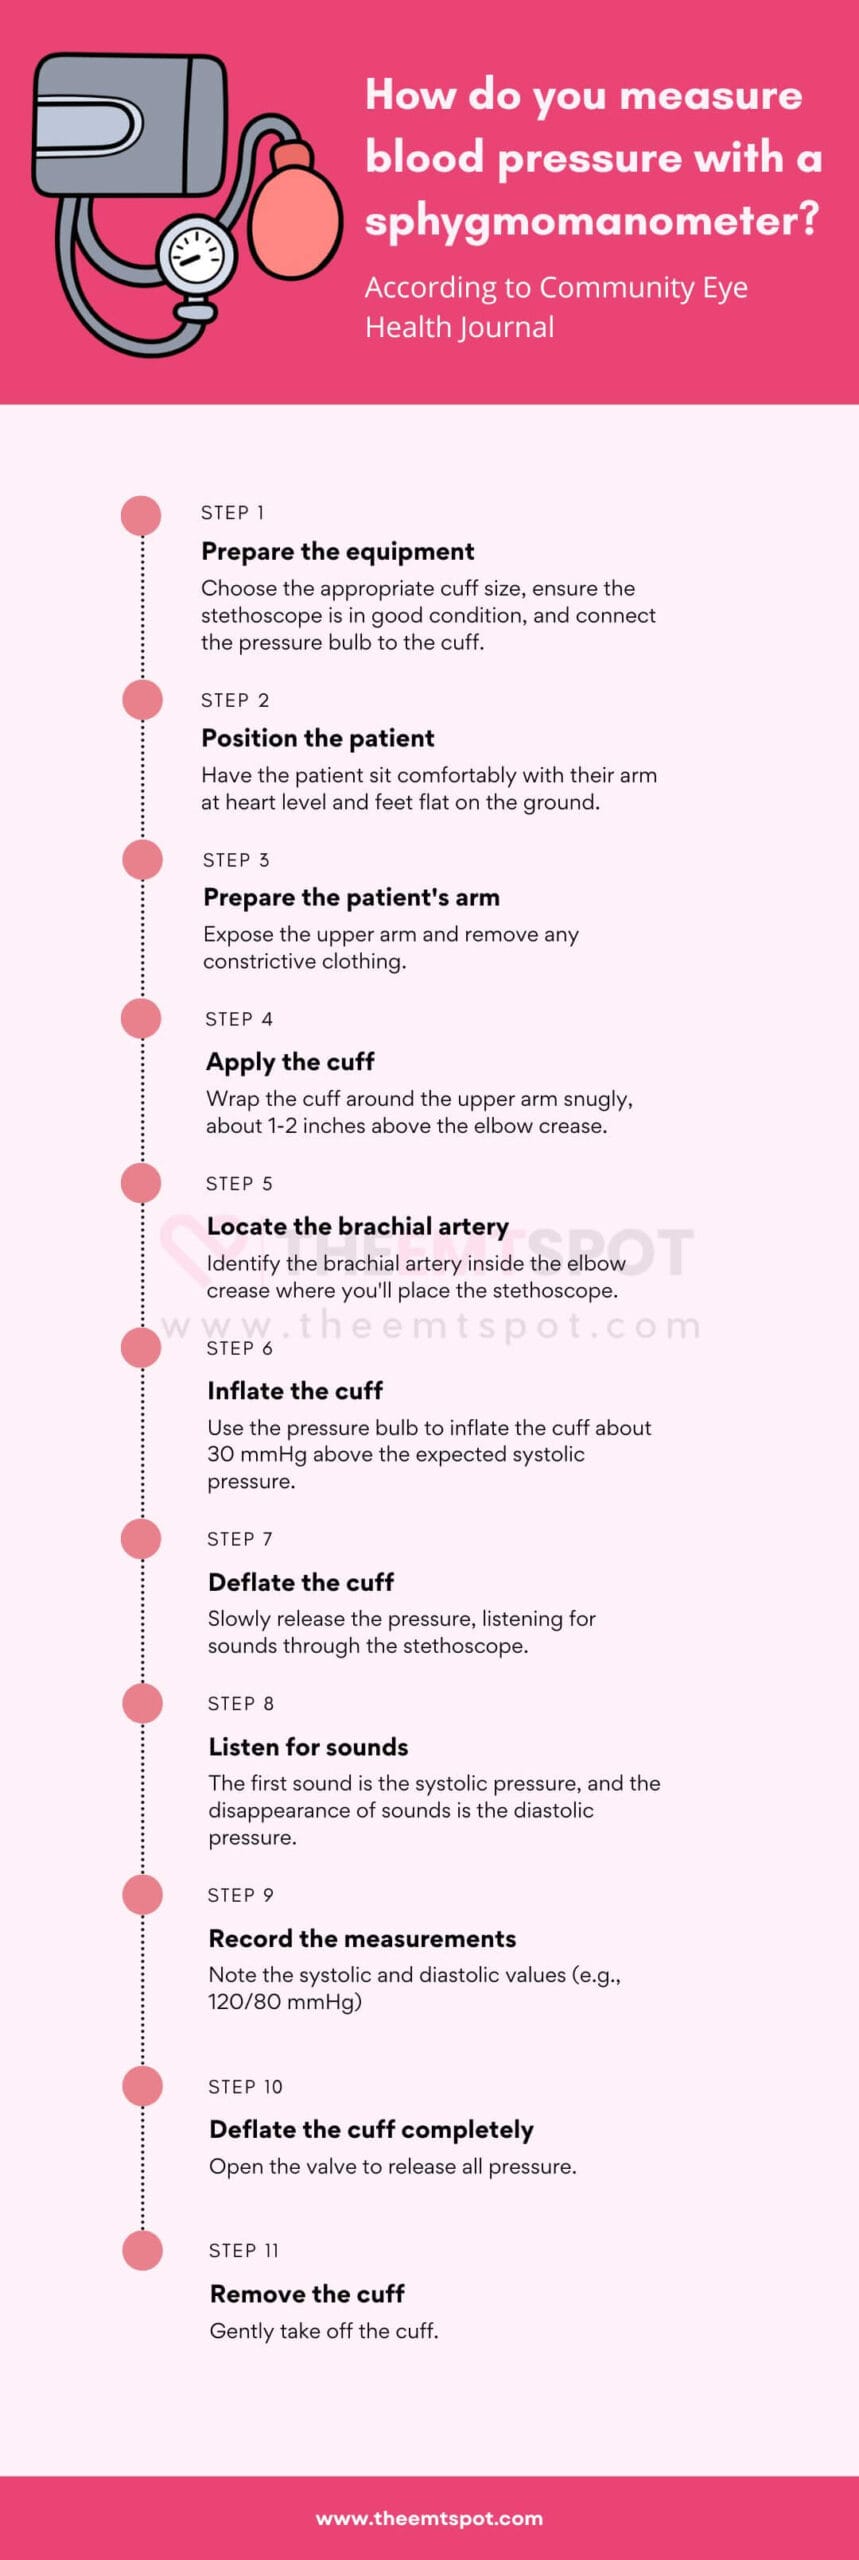
The manual auscultatory method uses an inflatable cuff, pressure gauge and stethoscope to identify Korotkoff sounds over the brachial artery. It can be accurate when performed correctly but requires training and practice.
What is ambulatory blood pressure monitoring (ABPM)?
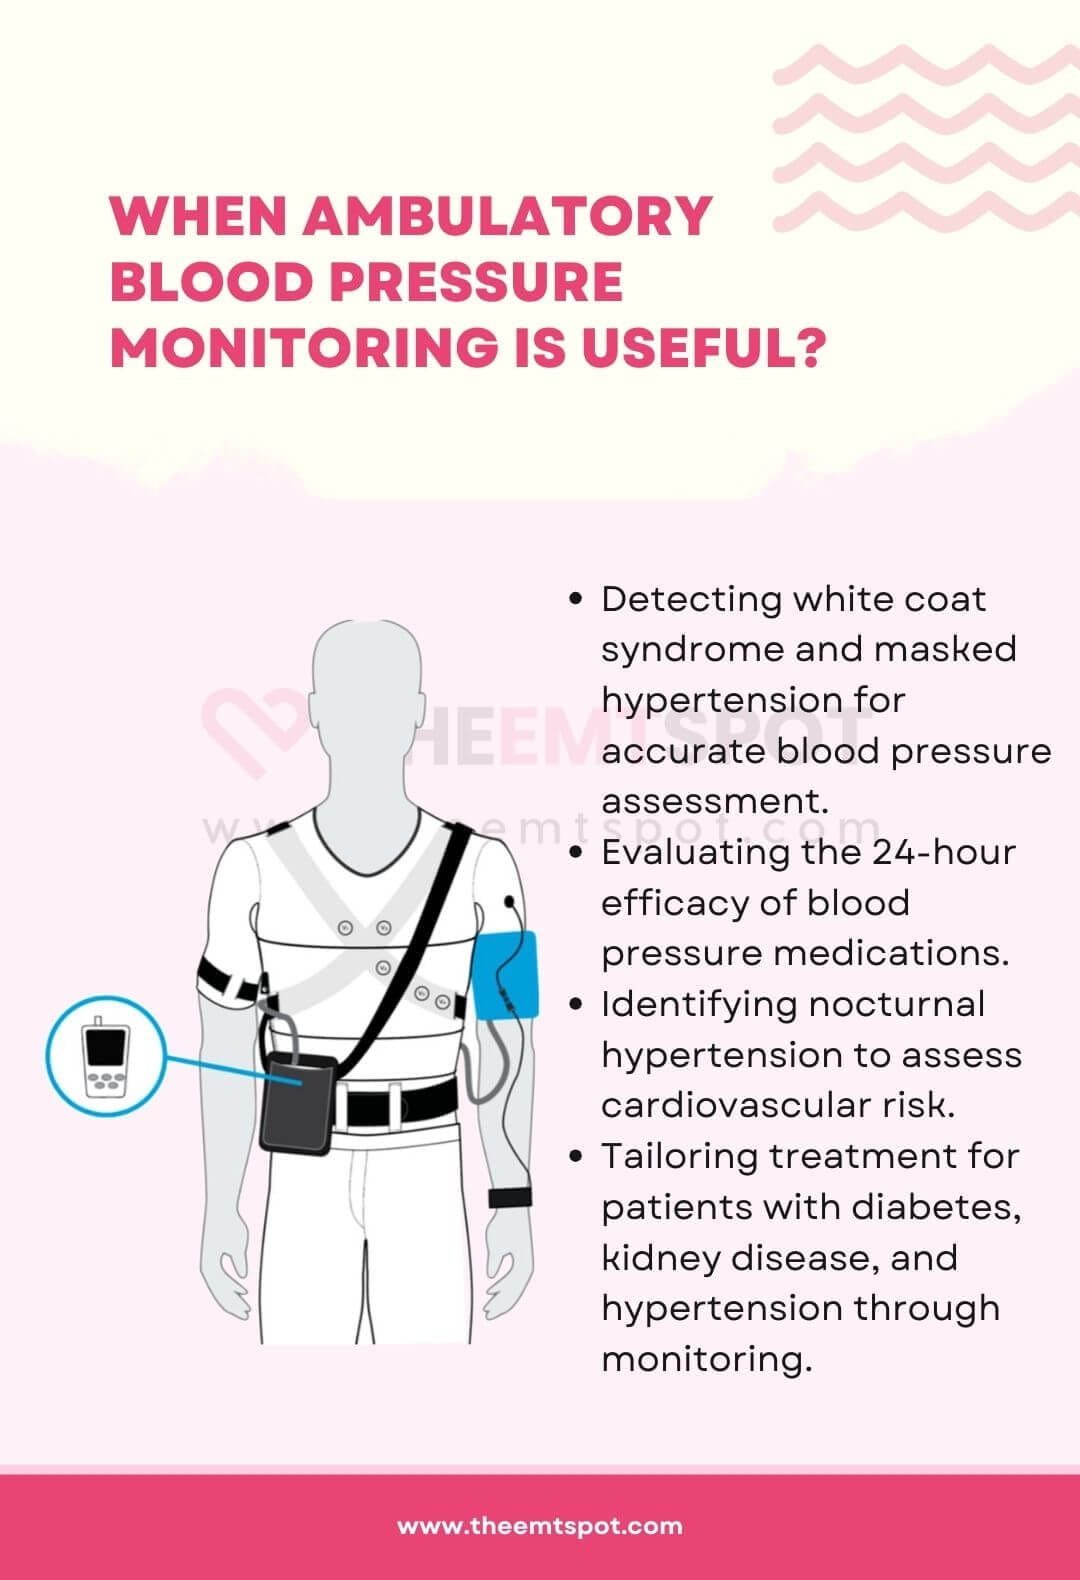
Ambulatory blood pressure monitoring uses a portable cuff that measures blood pressure automatically at regular intervals during normal daytime activity and sleep, usually over a 24-hour period.
ABPM is especially useful when a clinician needs to distinguish persistent hypertension from patterns such as white-coat hypertension or masked hypertension.
What should you do after taking a blood pressure reading?
Record the systolic and diastolic values, the time of day, the arm used and anything unusual that may have affected the result. If you are monitoring regularly, focus on the pattern rather than one isolated number.
Normal or expected reading
Record it and continue your usual monitoring schedule.
Unexpected reading
Check your position and cuff placement, rest quietly, and repeat the measurement after at least one minute.
Repeated high readings
Share the pattern with your health care professional rather than adjusting treatment on your own.
Very high reading with symptoms
Follow emergency guidance for severe blood pressure elevation, especially with chest pain, shortness of breath, weakness, vision changes or difficulty speaking.
To interpret a result, use the blood pressure chart or browse the blood pressure readings library.